Receiving
Unloading and Unpacking your new HSP1-I.
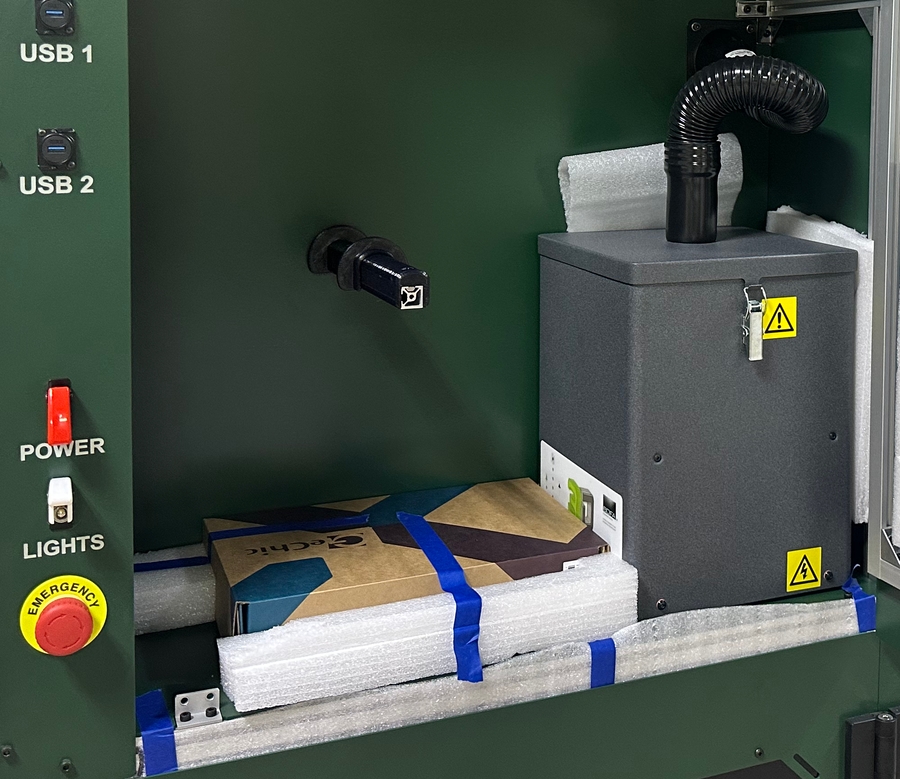
Step 1: Unpacking
Begin by moving the pallet to a level, open space for unpacking. Remove the straps anchoring the machine to the pallet and remove the plastic wrap from the machine. Be sure not to damage the panels when removing the plastic wrap. Visually inspect the frame, paneling, and switches for damage caused during transit. If any damage occurred, take photos and contact HartSmart Products immediately.

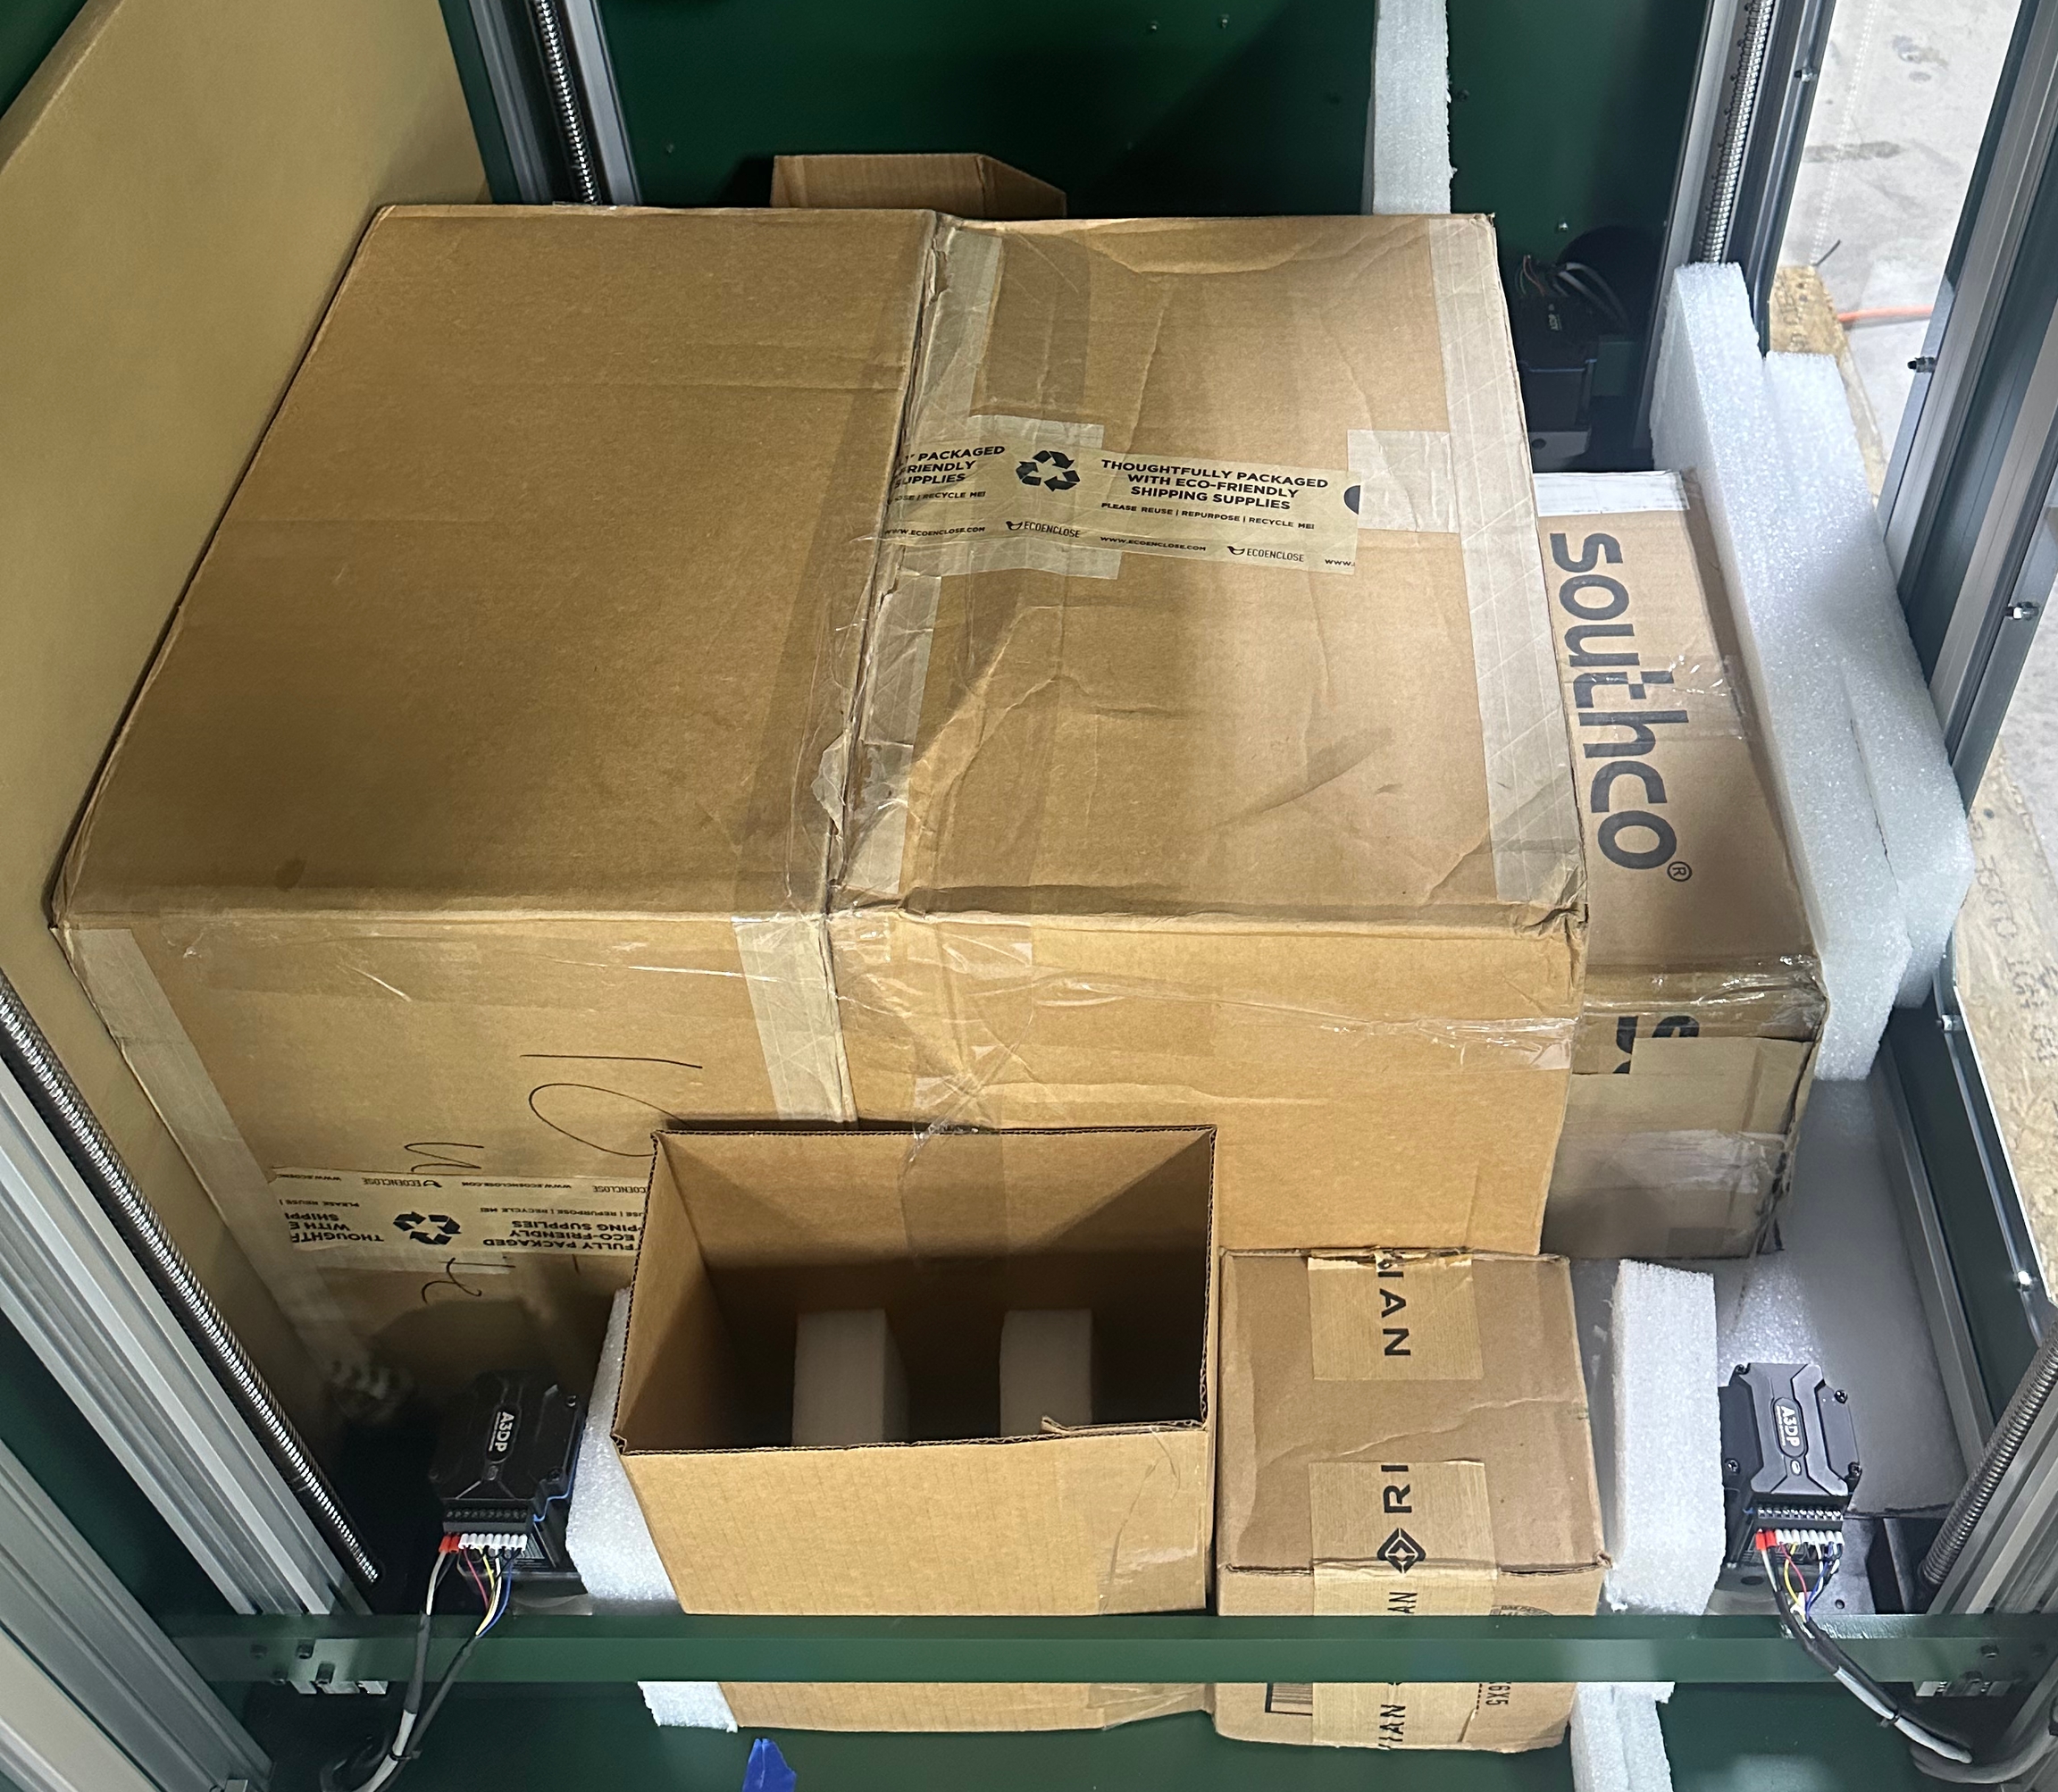
Various accessories and components are packaged and stored inside the machine. These include the touchscreen display and mounting arm, 2x10kg spools of Engineering PLA, CXC alignment camera, probe, and accessory pack. These may be removed now to reduce the weight of the machine during removal from the pallet, or later after moving. We recommend doing them later, but instructions can be found in step 3 for doing them now.

Step 2: Removing the Machine from the Pallet
The machine is boxed in by 2x4s to prevent it from shifting on the pallet during shipping. Remove these 2x4s to access the black leveling casters. These casters have red ratcheting handles to raise and lower the leveling feet. Raise the feet to permit moving the machine off of the pallet.
With a team of 3-4 people, move the right end of the machine (the side the electronics and filament cabinets are located on) to the edge of the pallet. With two people on the right end, roll the machine at least halfway off the pallet and set the end on the ground. Roll the machine most of the rest of the way off the pallet, lift the left side up, roll it the rest of the way off the pallet, and set it down.
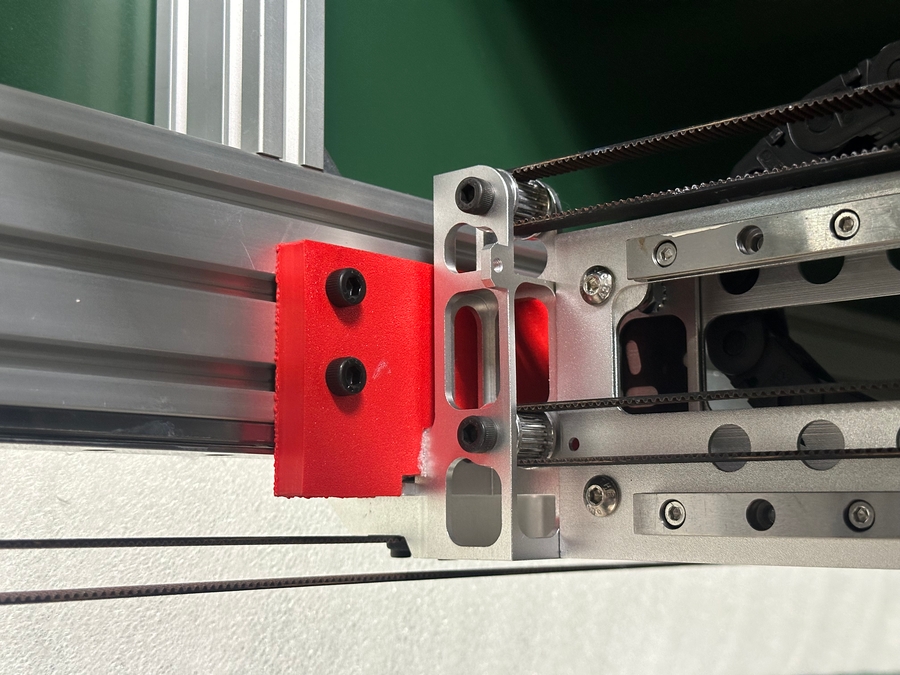
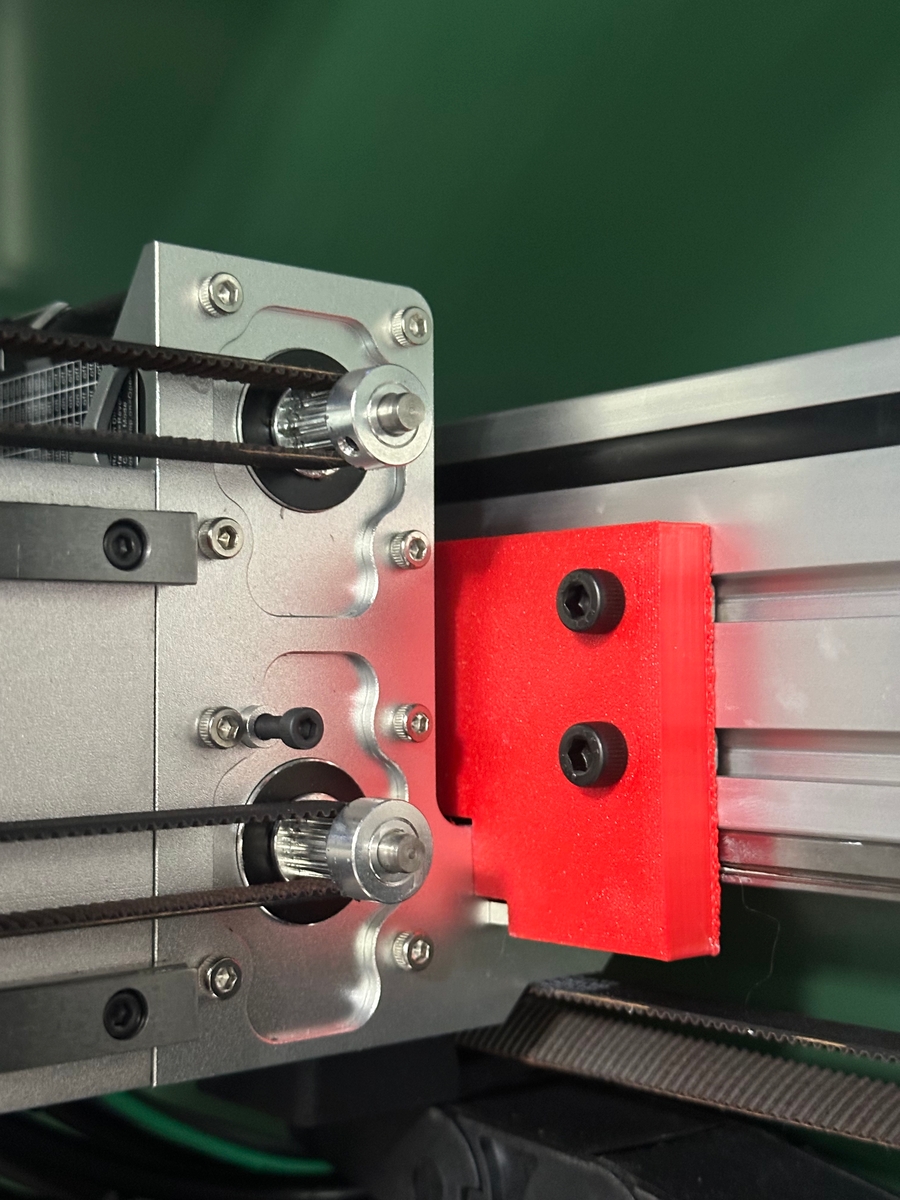
Step 3: Removing Packing Materials
Remove all the protective foam and cardboard from the machine that is accessible. During shipping, the toolheads and gantry were immobilized using red zip ties and/or brackets. Remove these brackets and zip ties before proceeding.


If the accessories and filament were not removed earlier, remove the accessory boxes now. The filament boxes are inaccessible due the the bed being lowered during shipping, so the machine will need to be powered up to access them. Inside the accessory box will be a power cable.
Plug in the power cable and turn on power to the machine. It will take a short while to boot due to the SBC handling much of the filesystem and networking tasks. Once booted, the small display will report an Idle status in the top right corner, and the heaters on the main page will report ambient temperature in Celsius.
To move the bed up without homing, switch to the console tab and input the command M564 H0. Switch back to the Control tab, open the Move menu, and input small negative Z moves until you are sure the Z axis is moving up (up is negative, down is positive). Move the Z axis up far enough to access the filament spools and any other accessories such as additional build plates, then turn off the machine and proceed to the next step.
Step 4: Positioning the Machine
Slowly roll the machine to your desired location. Be cautious of obstacles in the path when moving. When positioning the machine, ensure a minimum space of 6" between the rear of the machine and walls for the electronics bay cooling fan and power cable. Extend the rubber feet on the casters to level the machine and prevent it from moving around. You can reverse the direction of the ratchets with the small black lever inside the red ratchet arm.
When relocating the machine, be sure to mind components that protrude from the panels such as the door hinges, power switches, and bulkhead tube fittings when passing through doorways.
Next Steps
Follow the initial setup guide to install the remaining accessories and configure the machine for your location.
Last updated

