

Initial Setup
Setting Up and Starting HSP1-I for the First Time.
Step 1: Display Installation
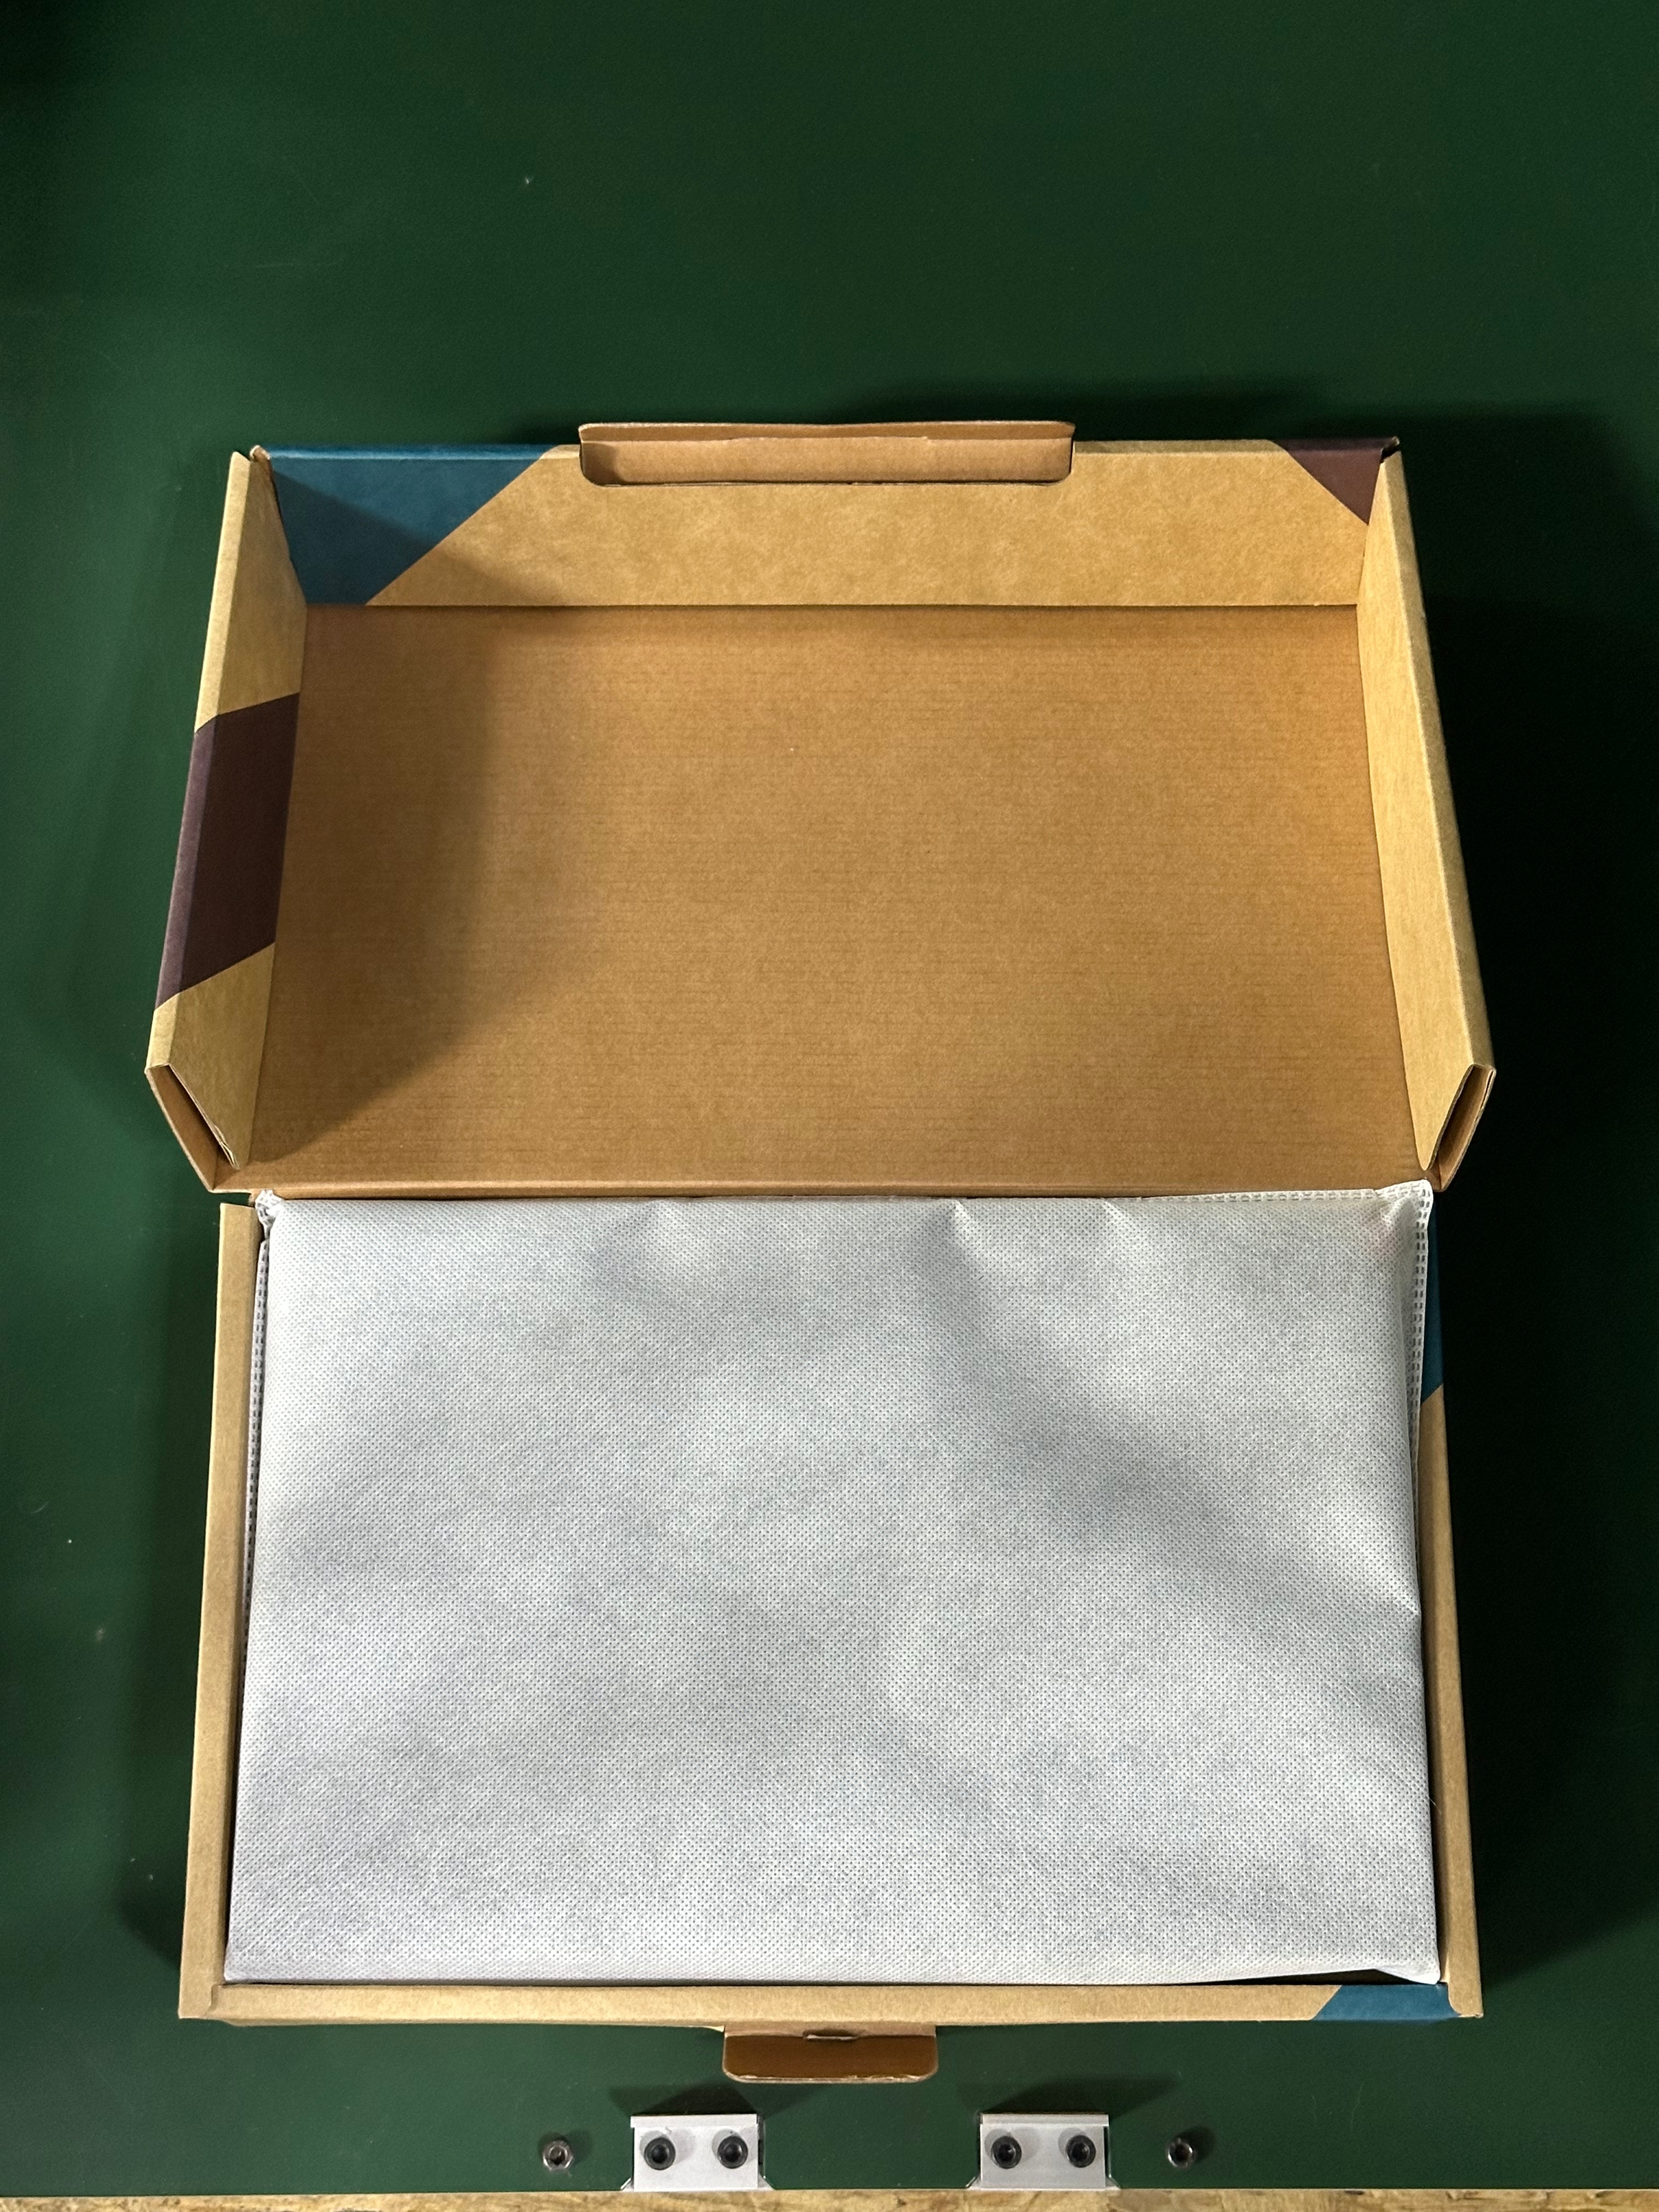
The touchscreen display and articulated arm are stored in the filament bay on the right side of the machine for shipping. The display is stored in its original box, while the arm may be stored with the other accessories.
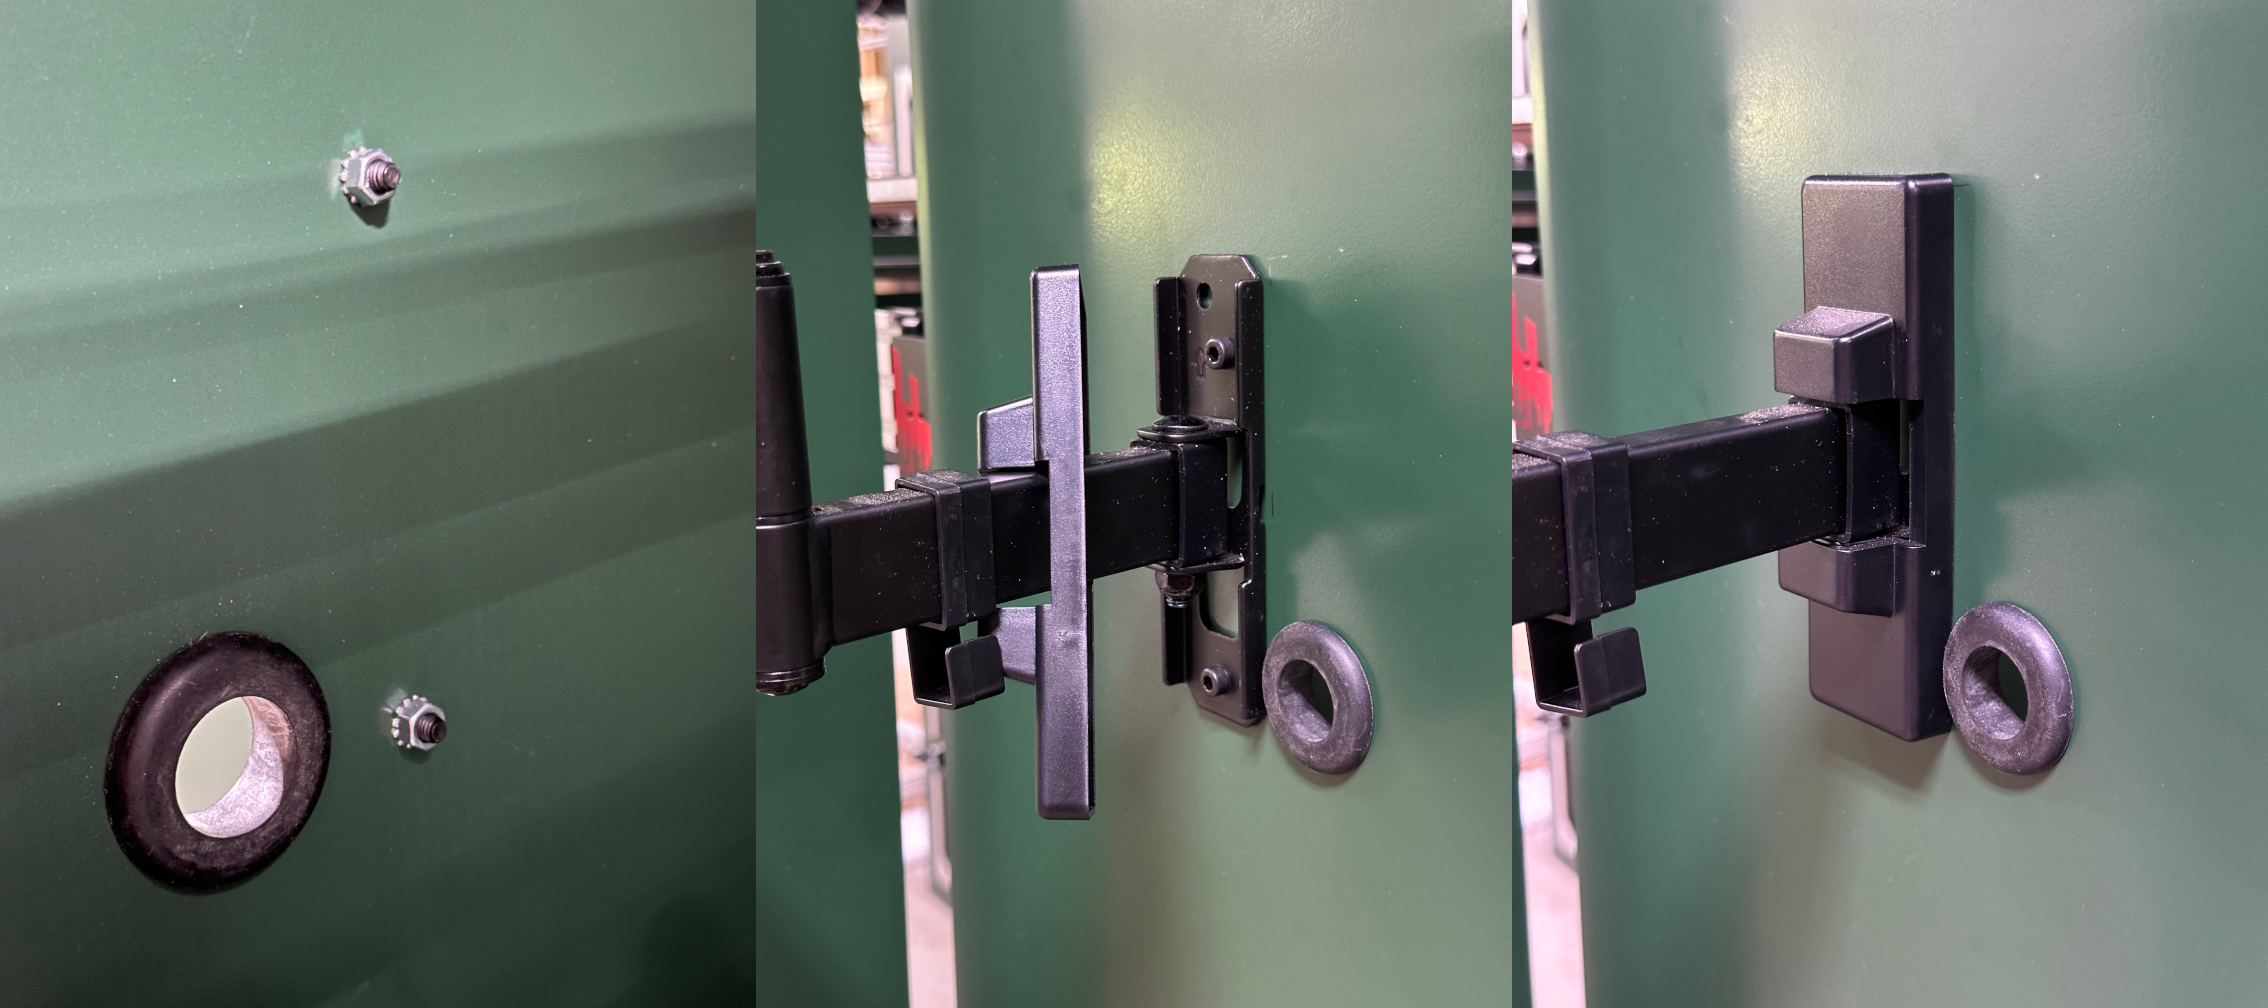
The display arm is mounted on the right end of the front side of the machine, below the smaller display (Paneldue). The mounting hardware for the arm should be attached or packaged with the arm.
Attach the arm using the provided hardware. The side with two holes goes up. Attach the mounting cover. The grommet may slightly interfere with the cover. If it does, shift it out of the way slightly so that all the snap clips engage on the cover.
Plug in the bundle of cables and tuck them into the cable management clip on the arm. The HDMI and USB-C cables go on the right side, and the power plug goes on the left side.
The power plug physically fits into the 3.5mm audio port on the display. Ensure it gets inserted into the correct plug. If the display doesn't turn on in later steps, check that it's not plugged into the audio port.
Step 2: Installing the Remaining Components
The accessories box includes the probe and priming waste buckets. These were removed for shipping to prevent them from being lost or damaged. The probe must be installed before homing and jogging the machine.
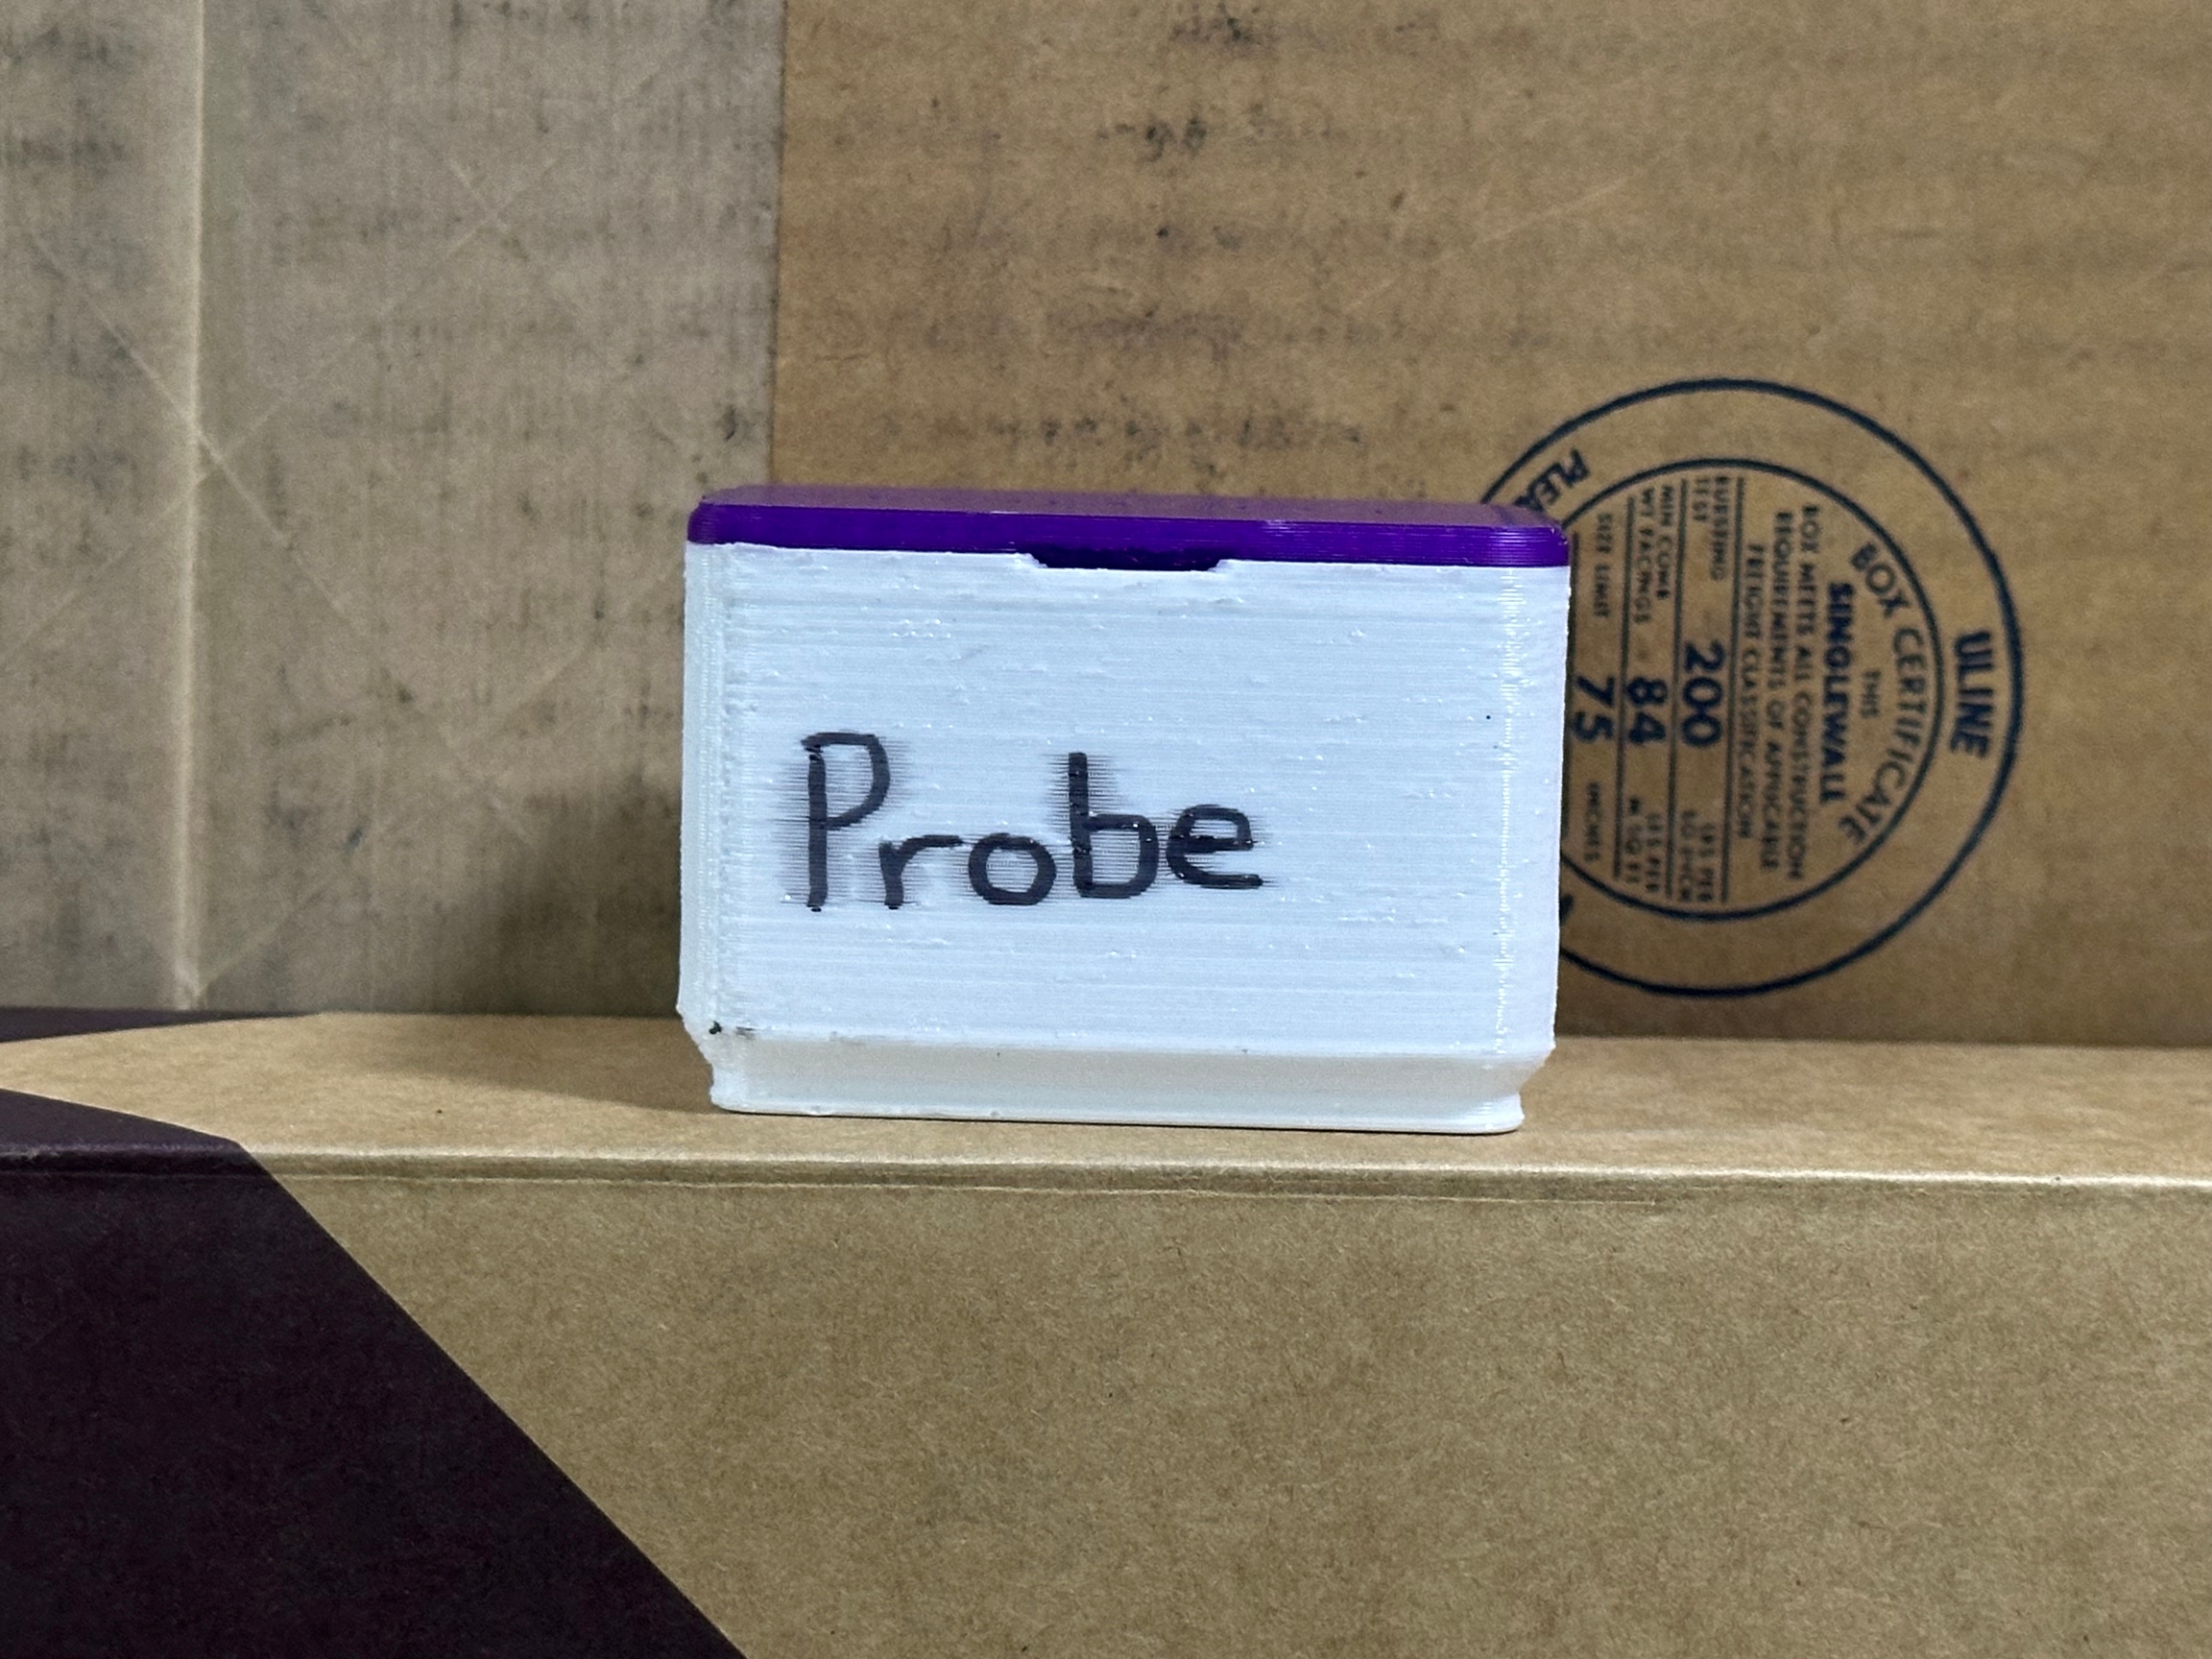
Locate the box containing the probe. It will be labeled Probe. Remove it from the packaging and insert it into the dock in the rear left of the machine. It goes in round magnet side up, switch side down. The body of the probe is arrow shaped, and it points to the rear of the machine.
The priming waste buckets are attached to the waste chute. There are slots in the chutes that the pins protruding from the buckets slot into. Install one on both sides of the machine.
Step 3: Powering HSP1-I
If the machine stands in front of a wall, be sure to give enough clearance for the 120v plug and for the electronics exhaust fan. You can now switch on your HSP1-I using the switch with the red guard. Once powered, give the control system a minute to boot. The machine will be ready to configure once the DWC (Duet Web Control) interface has loaded.
Step 4: Connecting to a Network
Step 4a: Connecting to a Wireless Network (Optional)
Do not connect to a wireless network via the GUI toolbar or Raspberry Pi setup. This is bugged and will cause frequent disconnects.
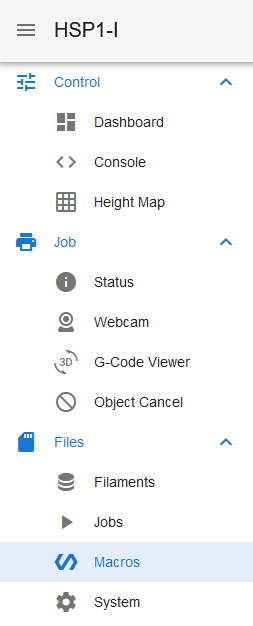
Navigate to the Macros tab in DWC and open the "Configuration" folder, then the "Network" folder. Tap on the Configure Wireless Connection macro to run it. It will prompt for the network SSID and password.
Step 4b: Connecting to a Wired Network (Optional)
HSP1-I includes an ethernet port on the rear of the machine for wired networking. Simply plug in an ethernet cable and run the Configure Wired Connection macro in the "Configuration" directory.
Step 5: Changing the Controller Password
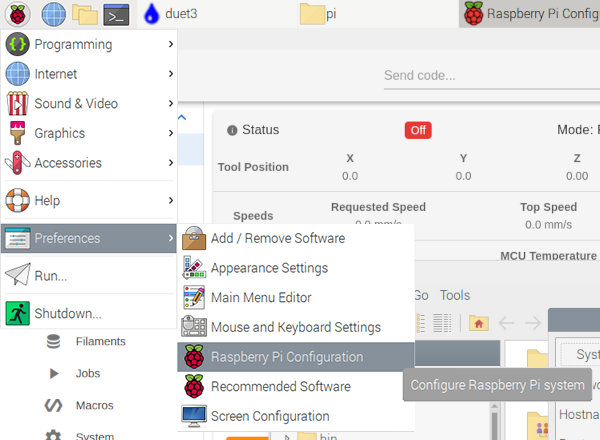
It is highly recommended that you change the password for the machine. This can be done via the Raspberry Pi Configuration tool, located in the App Menu. In order to access the App Menu, swipe down from the top of the screen so an "X" appears. Tap the "X" to leave full screen in DWC. Open the App Menu and select Preferences>Raspberry Pi Configuration.
From here, you can change the password by tapping "Change Password...", as well as a handful of other settings, including the Hostname.

Step 6: Changing the Hostname (Optional)
In the Raspberry Pi Configuration tool, edit the Hostname field and tap "OK" to accept the changes. It will then prompt you to restart to apply the changes. Select "No" to avoid restarting, then switch back to DWC and open the System tab.
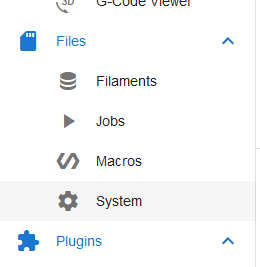
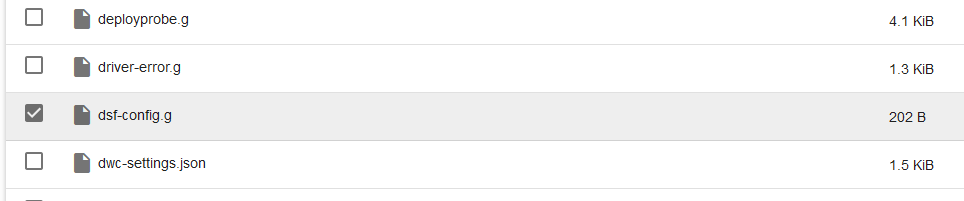
Open dsf-config.g and edit the following line to match the hostname you set. Save the file, and then restart the controller via the "Shutdown..." option in the Menu.
Step 7: Configuring the Print Camera
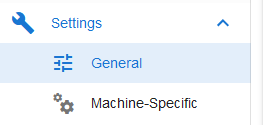
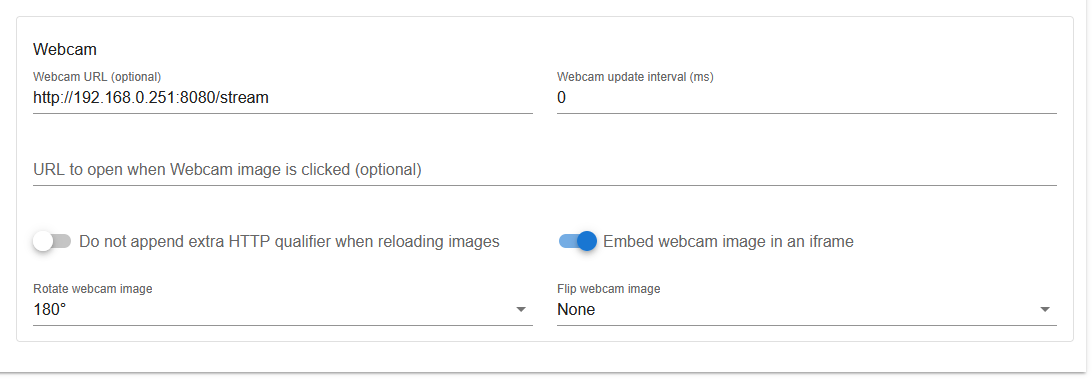
HSP1-I comes configured with a print monitoring camera accessible on the local network. Due to the way it functions, it is not possible for it to be configured from the factory. To configure it for your local network, navigate to the "General" tab, under "Settings".
Configure the Webcam URL using the IP address you recorded earlier, http://<ip address>:8080/stream, set the Webcam update interval to 0, and configure the webcam image rotation to 180 degrees.
Next Steps
Follow the process on the First Steps page to ensure the machine is ready to print.
Last updated