

Z Offset Calibration
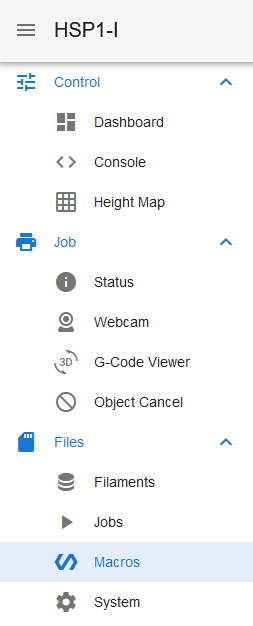
How to use the Z Offset Calibration and Save Babysteps Macros on HSP1-I
Z Offset
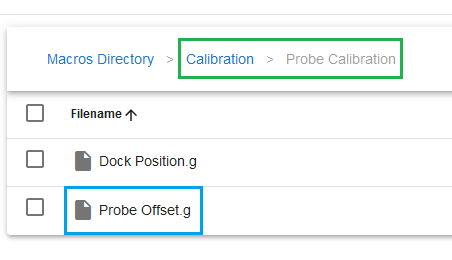
Tool Z Alignment
Fine-tuning the Z Offset with Babystepping
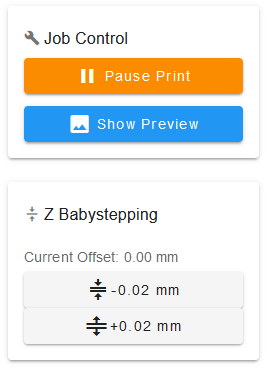
How to Save Babystepping
Right Tool Offset Babysteps
Last updated